We don’t have a garden or a truck patch; we can’t even grow good tomatoes around here. But, we can usually grow a few herbs in a flower bed or a pot. My favorite herb is basil, and we usually have several plants growing in a flower bed somewhere.

At the end of summer each year, I usually harvest the basil and make pesto. That’s what I did today. I made regular pesto and had enough basil for three batches with enough left over for making several batches of one of my favorite recipes—“Tomato Pesto” (see below).  I froze most of it.

I pulled up the basil by the roots, then broke off the roots and washed the basil plants with a hose outside. I hung the basil in the garage until it dried.  After the washed basil had dried, I brought in inside, stripped off the leaves and made pesto!

IMG_20131023_105019_714


IMG_20131023_105331_828


IMG_20131023_110350_397


To make these pesto recipes all you need is a food processor and all the ingredients, of course. You basically dump everything in the food processor and let ‘er rip.

I got the recipe for pesto from “Simply Recipes” but any recipe will do. All pesto recipes are all about the same.

Fresh Basil Pesto

  • 2 cups fresh basil leaves, packed
  • 1/2 cup freshly grated Parmesan-Reggiano or Romano cheese
  • 1/2 cup extra virgin olive oil
  • 1/3 cup pine nuts or walnuts
  • 3 medium sized garlic cloves, minced
  • Salt and freshly ground black pepper to taste

Directions

  1. Combine the basil in with the pine nuts, pulse a few times in a food processor. (If you are using walnuts instead of pine nuts and they are not already chopped, pulse them a few times first, before adding the basil.) Add the garlic and cheese and pulse a few times more.
  2. Slowly add the olive oil in a constant stream while the food processor is on. Stop to scrape down the sides of the food processor with a rubber spatula. Add a pinch of salt and freshly ground black pepper to taste.

I spooned the pesto into ice trays (yes, we still have some ice trays) covered it with plastic wrap and put it in the freezer. After it is frozen, I will remove the pesto from the ice trays and place the frozen cubes in a plastic bag. Our favorite way to use the pesto is very simple. We thaw a two or three cubes of the pesto and use it as a sauce for pasta. Simple, easy, tasty.

Now here comes the good part.

I got this recipe from my friend, Jim. Jim is a gentleman, and when you taste this recipe, you will agree he is a gentleman who has good taste in food. I believe the original recipe came from America’s Test Kitchen. We call it Tomato Pesto.

Pasta w/tomato and Almond Paste
(Pesto Alla Trapanese)
Sicilian village of Trapani

Serves 4 to 6

Ingredients:

  • 1/4 Cup slivered almonds (I used whole toasted almonds; it all gets chopped up anyway)
  • 12 ozs Cherry or grape Tomatoes (about 2 1.2 cups)
  • 1/2 Cup packed fresh basil leaves
  • 1 medium garlic clove, minced or sliced
  • 1 small pepperoncini, stemmed, seeded and minced (A half teaspoon of red wine vinegar and ¼ teaspoon of red pepper flakes can be substituted for the pepperoncini)
  • Table salt
  • pinch red pepper flakes (optional)
  • 1/3 Cup extra-virgin olive oil
  • 1 lb pasta, preferable linguine or spaghetti
  • 1/2 cup grated Parmesan plus extra for serving.

Directions:

Toast almonds – cool

Process cooked almonds, tomatoes, basil, garlic, pepperoncini, 1 tsp salt and red pepper flakes in food processor until smooth. Slowly drizzle oil with machine running.

Cook Pasta and reserve 1/2 cup cooking water.
Drain pasta and return to pot.
Add the fresh pesto and 1/2 Cup Parmesan to cooked pasta.
Serve with extra Parmesan.

Enjoy!  Thanks, Jim.

03. June 2013 · 4 comments · Categories: Bob, Food, Recipes

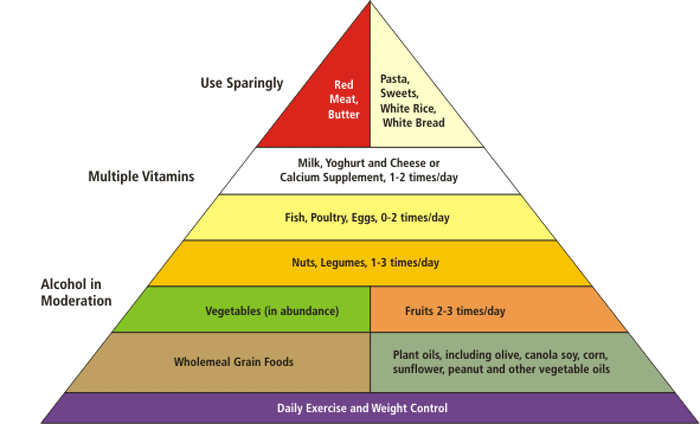
I’m sure you’ve heard the recommendations that a healthy diet should include lots of vegetables, fruits, whole grains and not so much refined food such a white flour, desserts, red meat, etc. A book written several years ago by Harvard nutritionists Walter C. Willett and Meir J. Stampfer, Eat, Drink, and Be Healthy (Simon & Schuster, August 2001), describes this nutritional approach, which is based on decades of research. The nutritional guidelines are easily summarized in their food pyramid. Basically, this “nutrition lifestyle” (don’t call it a diet), recommends sharply restricting red meat, potatoes and refined grain products such as white bread; limiting dairy products to one or two servings a day; replacing unhealthy saturated fat with healthier unsaturated vegetable oils; and emphasizing whole grains, fruits and vegetables.

pyramideNotice that the bottom layer of the pyramid lists exercise and weight control. Although this is not actually nutritional, it stresses that your lifestyle should be based on a strong foundation of exercise. Also, near the bottom of the pyramid are whole grains and plant oils, which means that a significant proportion of your calories should come from these foods. As you move up the pyramid you should eat decreasing amounts of the listed food categories—fruits and vegetables, nuts and legumes, fish and poultry, not too much dairy products, until you get to the top. The foods listed at the top are ones to avoid most of the time—the whites (rice, bread, potatoes, pasta) and red meat and butter.

Given that your lifestyle should include a lot of whole grains, I offer a recipe for brown rice pilaf. Try replacing white rice or potatoes with this dish.

[stextbox id=”black” caption=”Perfect Brown Rice”]In a 1-quart sauce pan add 1 teaspoon of olive oil (optional), 3/4 cup of brown rice (I usually use basmati), and one can of chicken stock. Heat over high heat until the broth comes to a rolling boil. Cover and reduce the heat to low; cook for 45 minutes.[/stextbox]

Brown Rice Pilaf

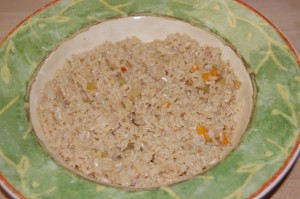
DSC_0145Ingredients

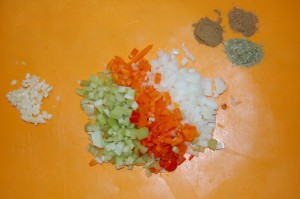
DSC_0142

The mirepoix, garlic and spices

¾   cup brown rice
1    can chicken broth
⅓   cup onion, chopped
⅓   cup celery, chopped
⅓   cup sweet peppers, chopped
2    cloves garlic, minced
1    tablespoon olive oil
1    teaspoon cumin
½   teaspoon coriander
1    teaspoon dried basil
freshly ground black pepper to taste

Instructions

Sauté the onion, celery and peppers for 2-3 minutes until they are soft.  Add the minced garlic and saute another minute.  Stir in the rice and add the chicken broth and spices.  Bring to a rolling boil.  Reduce heat to low and simmer with the lid on for 45 minutes.


[stextbox id=”info” caption=”Try it with quinoa”]

Quinoa Pilaf

Substitute quinoa for brown rice and keep the rest of the recipe the same. Quinoa only needs to cook about 15-20 minutes.

Quinoa, (pronounced KEEN-wah) is an ancient grain that is indigenous to the Andes region of South America.  It contains more protein than any other grain and is a good source of fiber.  It can be cooked like rice and expands to about four times its original volume.  

[/stextbox]


I like my omelettes creamy on the inside and soft on the outside without any brown color.  I’ve made plenty of omelettes the traditional way–flipped:  add 2 beaten eggs to a 10-inch skillet, cook until the eggs are firm on the bottom, then flip the eggs and cook the other side. Add other ingredients and fold. I have also messed up the flip a number of times and have gotten eggs all over the stove.  Making an omelette the traditional way is time consuming, if you make more than one.  It can also be messy. So, I came up with a modification.  This is a quick way to prepare an omelette for several people all at once.  This example is one with ham and cheese.  You can use whatever you like in your omelette.

A recipe is only a guide.

Ham and Cheese Omelette

Ingredients

8 eggs
2-3 tablespoon of half and half
1 teaspoon salt
1 pat butter
cooking spray
1/3 cup finely chopped onions
1/3 cup finely chopped sweet peppers
1/2 cup chopped ham
1/2 cup sharp cheddar cheese, grated

Instructions

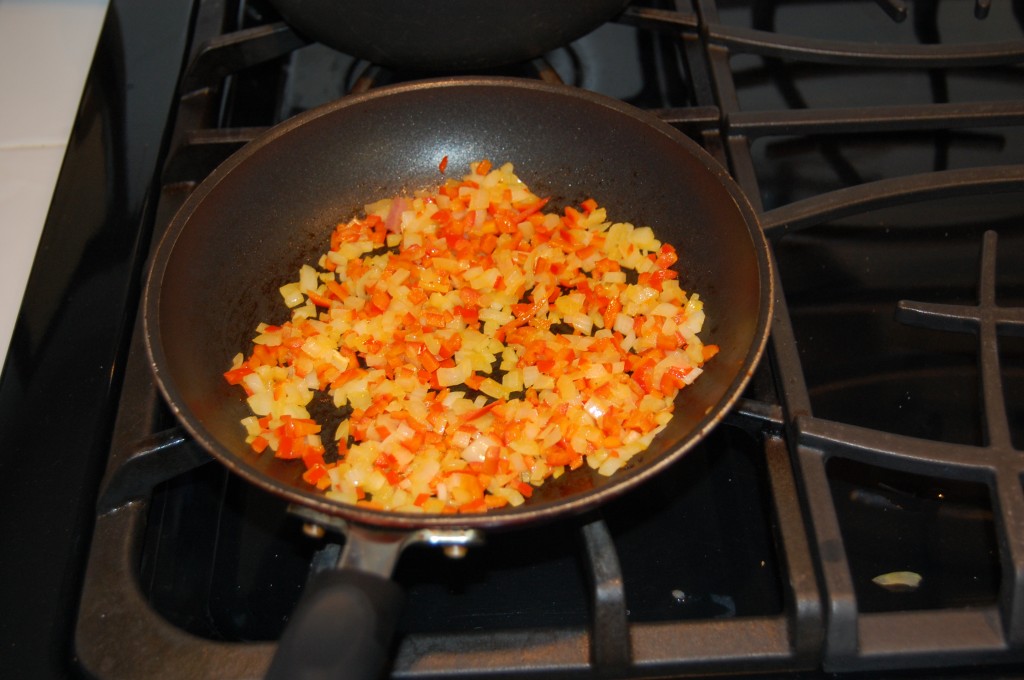
Saute the onions and peppers in about a teaspoon of olive oil in a 8-inch non-stick skillet until they are soft but not brown.  Add the ham (pre-cooked) and saute briefly to heat through.  Set aside.DSC_0121

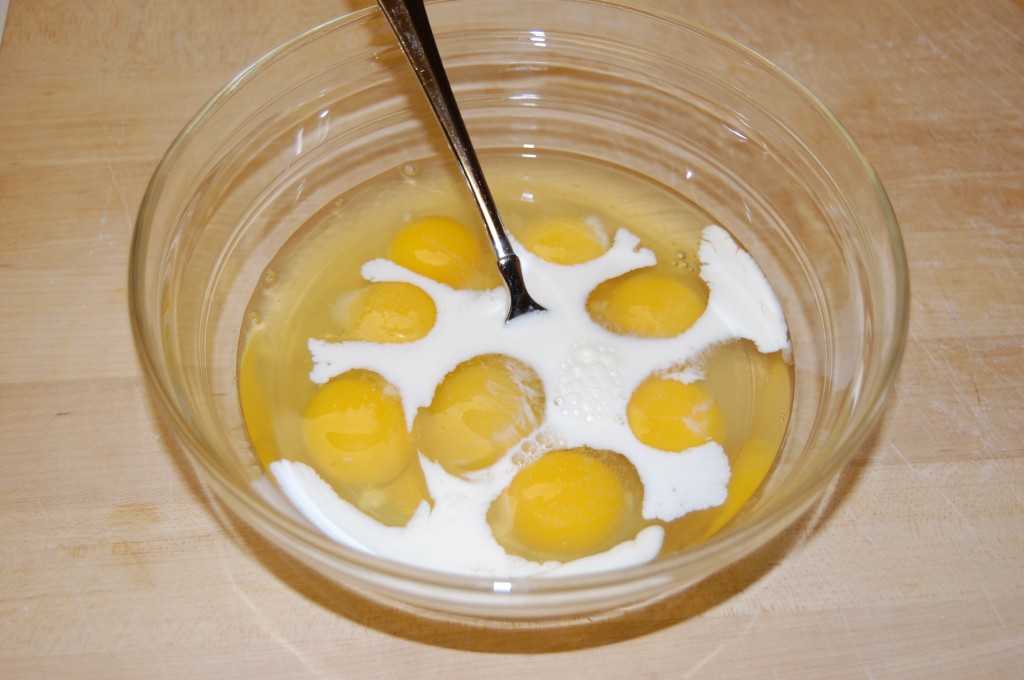
 Crack the eggs into a bowl, add the half and half and salt, and beat with a fork just until thoroughly mixed.DSC_0118

[stextbox id=”info”]I prepare eggs for an omelette the way I do when making scrambled eggs.  That is, with half and half and salt.  Some people say not to add salt until after cooking, but I don’t agree with that theory.  I’ve heard that salt and the fat from the half and half help keep the egg proteins from getting too hard.  Also, don’t beat the eggs too much, because that can also make the eggs tougher.[/stextbox]
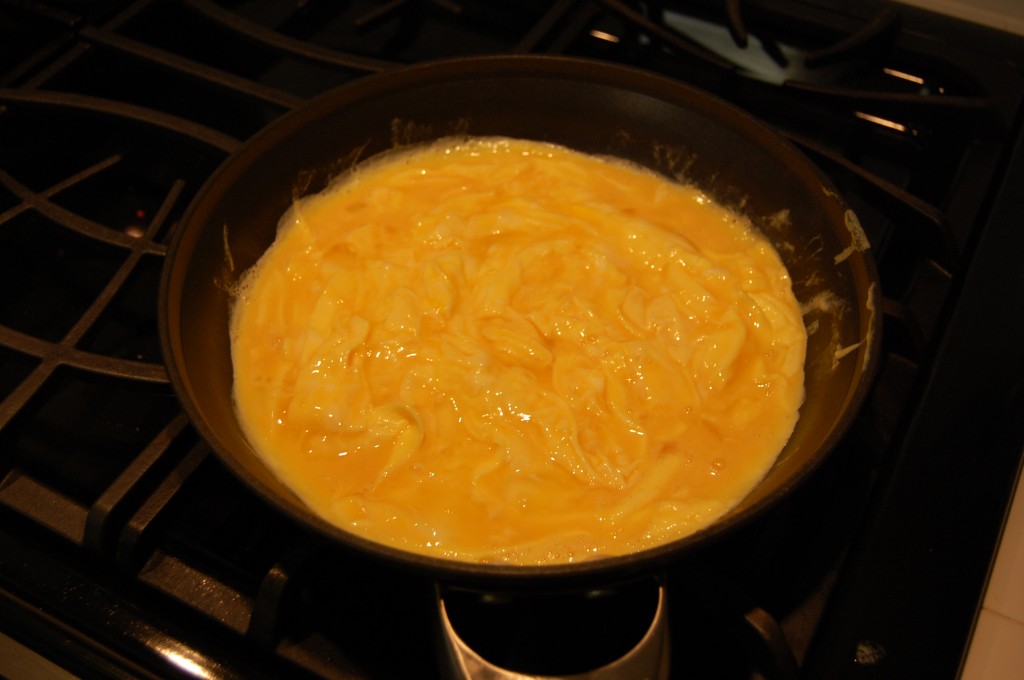
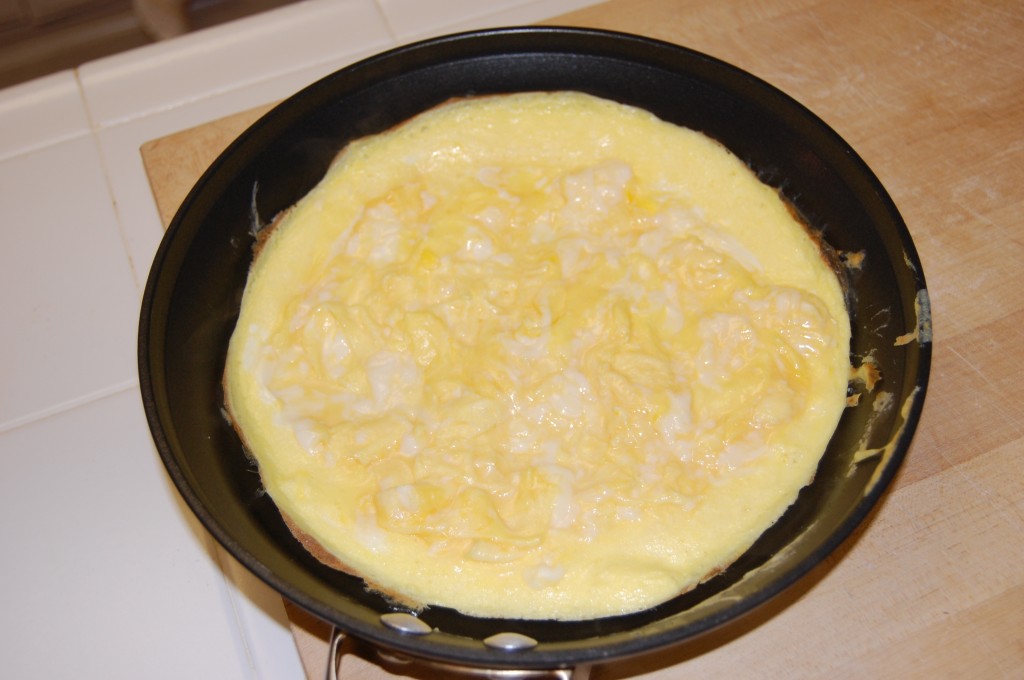
Heat a 10-inch non-stick skillet over medium heat. Add the butter and cooking spray. (The cooking spray contains lecithin, which is an emulsifier, and that helps spread the butter around the pan.) Heat the butter until it bubbles, but do not brown it. Add the eggs and start stirring with a spatula. After about 30 seconds, the eggs should start to set up. Turn down the heat to low. Using the spatula, push the firmed-up eggs toward the center of the pan. As you push the eggs away from the edge of the pan, tilt the skillet slightly to move more eggs in behind the spatula. Cook on low heat until the eggs are cooked on the bottom, but still soft and runny on top. Remove from the stove. The entire cooking time will only be about 1-2 minutes, which could vary depending on the your stove.DSC_0123

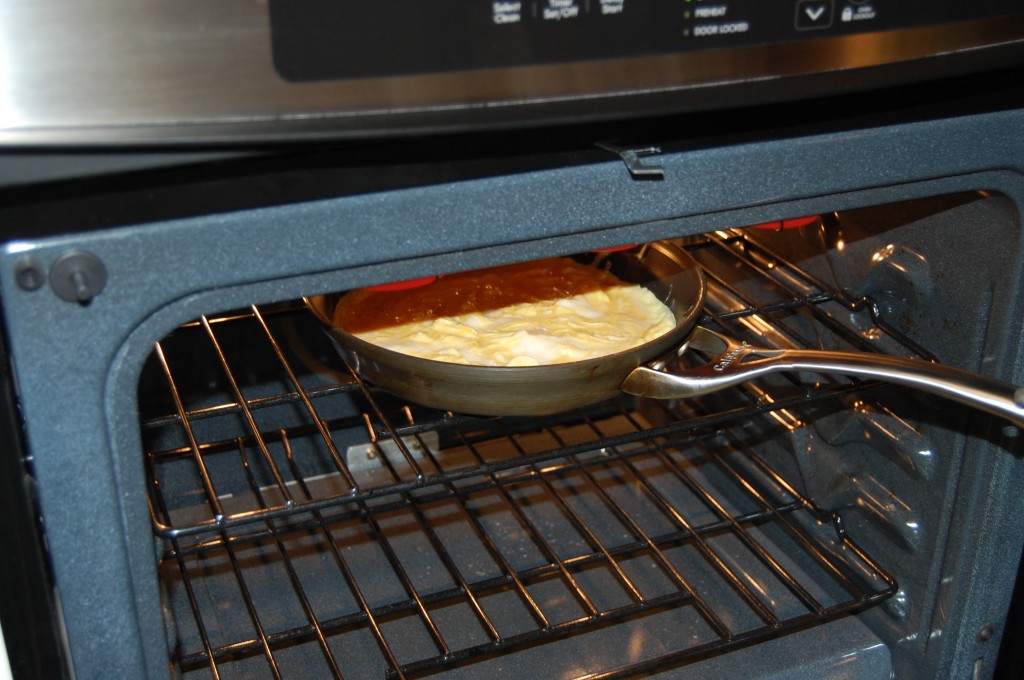
Place the top oven rack to it’s top position, and turn on the broiler. Place the pan of eggs under the broiler until the eggs become firm but not completely rigid. Watch carefully. This will only take a few seconds. DSC_0126

The thin outer edges of the omelette may start to separate from the edge of the pan as it broils. That’s OK, but that also means the omelette is probably done.DSC_0127

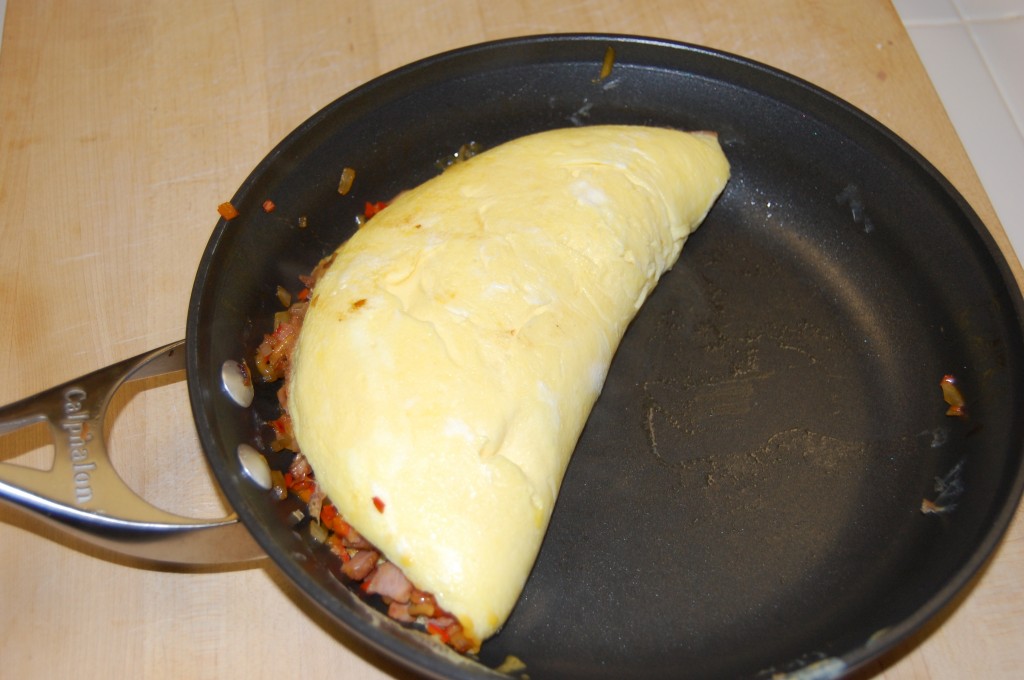
Remove the pan from the broiler and add the onions, peppers, ham.  Sprinkle cheese on top.  Place the pan back under the broiler for a few seconds, just until the cheese starts to melt.DSC_0128

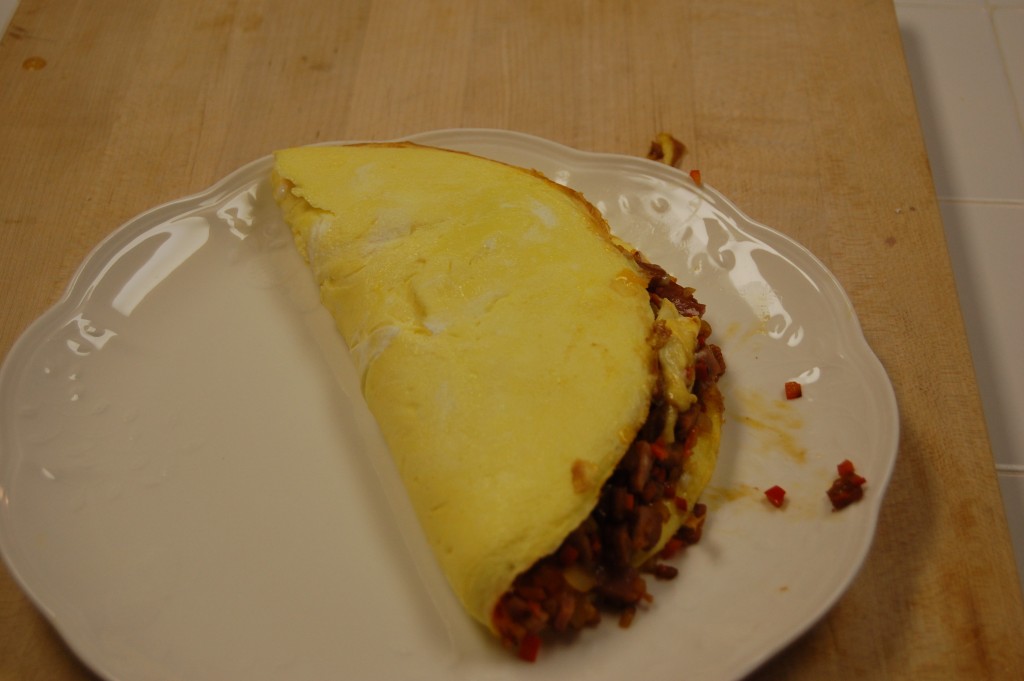
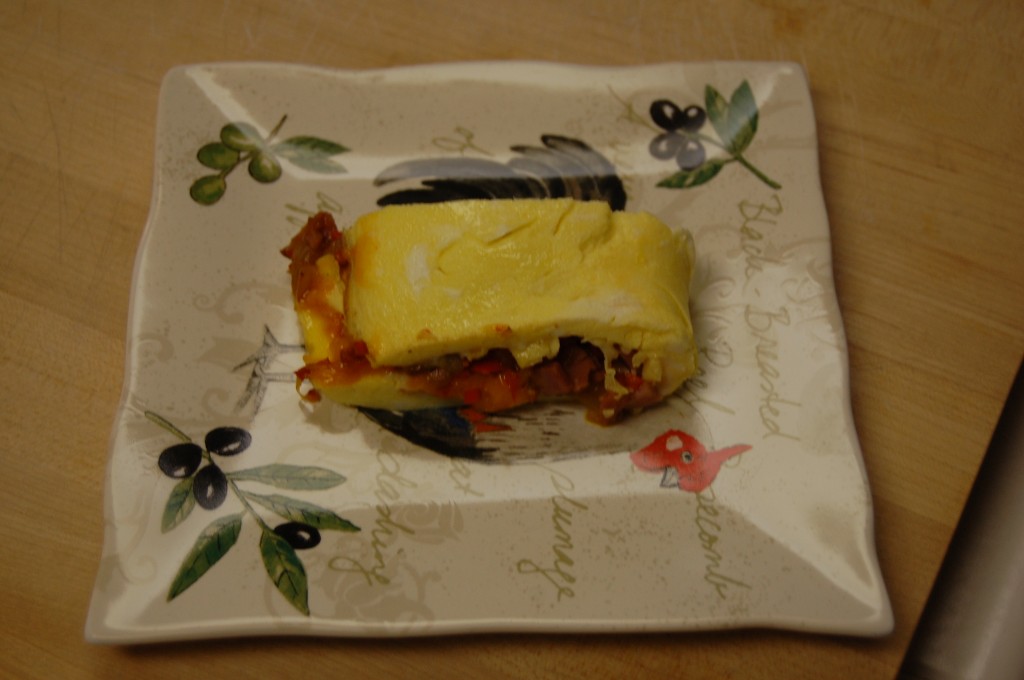
Using a spatula and your hand, carefully fold the omelette over and turn it out onto a serving plateDSC_0129

Cut the omelette into 4 pieces and serve.DSC_0134

We served ours with cheese grits (made by the sous-chef, Ann), fresh strawberries, homemade biscuits (also made by the sous-chef), with butter, strawberry jam and blueberry jam.

You can write home about this.

15. May 2013 · 1 comment · Categories: Bob, Recipes

I wager that anyone from the South grew up on cornbread dressing. It seemed to be a special dish usually served at Thanksgiving, Christmas, or special occasions. I’m not sure why it wasn’t more of an everyday meal. It’s a simple food, mostly bread (cornbread), and fairly easy to make. In fact, the starting point for dressing was usually leftover cornbread and biscuits. Cooks might make a little extra bread if they knew they were going to make dressing. Given it’s simplicity, you would think it would all taste about the same. It doesn’t. Some cooks just have a knack for making good dressing. Pretty good dressing is pretty good. But, really good dressing is a thing of beauty and a treat for the palette. Southerners love their dressing, and usually turn their noses up at stuffing made by northerners. Stuffing may be good to eat, but it ain’t dressing.

Around our family, Ann’s mother, Juanita, is the queen of making dressing. We usually request some when we visit. She definitely gets chosen to make the dressing when we have family gatherings. In recent years, she has begun adding some store bought stuffing mix to replace some of the bread. She says the seasoning in the mix adds a nice flavor. We watched her make a batch of dressing recently and jotted down some notes as she went along. She doesn’t refer to a recipe anymore. Thus, some of the measurements are approximate.

The cornbread and biscuits were made the day before. I’m not providing a recipe here for either. You can use the cornbread recipe on the bag of cornmeal. Don’t add sugar to the cornbread.  Any biscuit recipe will probably do. I recommend this one.  Don’t use canned biscuits or “light” bread or rolls. If you can’t make cornbread and biscuits, bless your heart. Learn to do that first, then you can graduate to a more complex food such as dressing.

[amd-zlrecipe-recipe:4]

This recipe is modified from Alton Brown’s recipe for Southern Biscuits.  [amd-zlrecipe-recipe:3]

[amd-zlrecipe-recipe:1]